Mu Si
Travel Guide


Visit Mu Si

Hotel Labaris Khao Yai
"Great Hotel to Stay"
Reviewed on 2026/6/12

atta Lakeside Resort Suite
"Excellent room and facilities. Very relaxing atmosphere. Breakfast had great choices. Staff friendly. Enjoyed the Japanese restaurant. Teppanyaki chef was fun and food was great. My partner enjoyed the spa very much. Will go again."
Reviewed on 2026/4/27

Lacol Khao Yai - A Chatrium Collection
"Clean room"
Reviewed on 2026/6/12

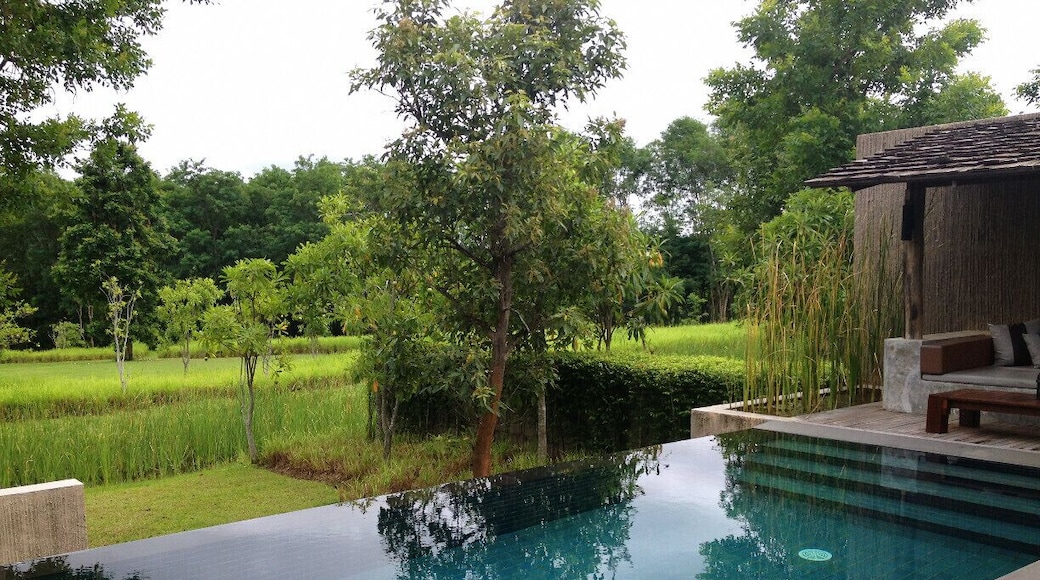
MUTHI MAYA Forest Pool Villa Resort
"Pool was very enjoyable. Staff extremely helpful with alerting me about a flat tire that I had on my rental vehicle. Ate at Acala Restaurant and it was an excellent dining experience. Breakfast was good. Entire experience was top notch. Will definitely be back. Will bring my clubs next time."
Reviewed on 2026/3/30

TheX10 PrivatePoolVilla & ResortKhaoYai
"Compliments: Exceptional Staff: Every staff member was polite, helpful, and professional. Atmosphere: Beautiful, quiet views and a well-sized pool. Food & Perks: Breakfast exceeded expectations (loved the fruit/milk). The free snacks in the lobby and karaoke were great for the family. Areas for Improvement: ..."
Reviewed on 2026/4/17

Monlada Khaoyai
"Great house! Spacious and beautiful. The amenities were certainly nice: kitchen, swimming pool, and the runnable vicinity. There was complementary breakfast. Unfortunately, this was not communicated well beforehand so we ended up buying a lot of food we didn't need to buy."
Reviewed on 2023/10/15
Popular places to visit

Nam Phut Natural Spring
Explore the great outdoors at Nam Phut Natural Spring, a lovely green space in Mu Si. Discover the mountain views in this relaxing area, or seek out the golf courses.

Chokchai Farm
Enjoy an outing to Chokchai Farm during your stay in Pak Chong. Discover the mountain views in this relaxing area, or seek out the golf courses.
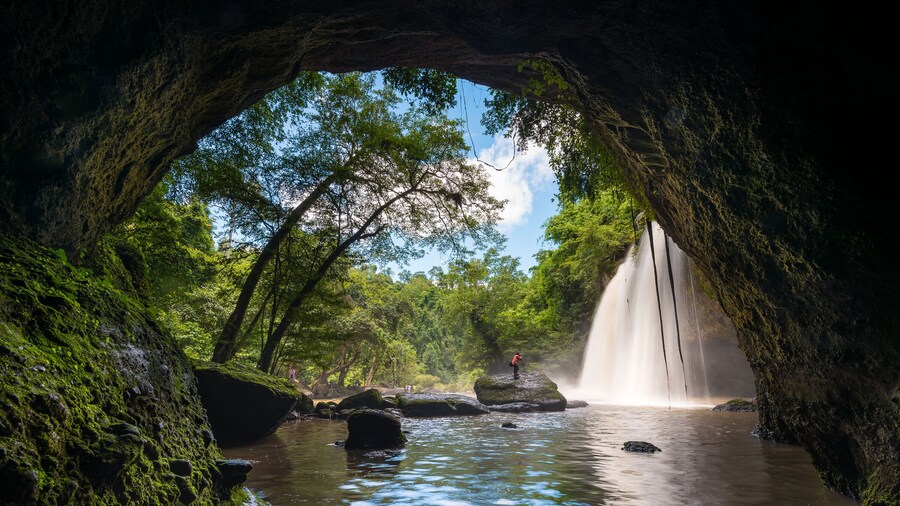
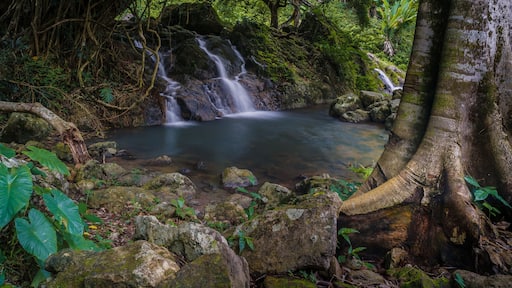
Haew Suwat Waterfall
Explore the great outdoors at Haew Suwat Waterfall, a lovely green space in Mu Si. Wander the parks or discover the mountain views in this relaxing area.
Outlet village Khao Yai
You can search for that perfect souvenir at Outlet village Khao Yai during your visit to Nong Nam Daeng. Discover the mountain views in this relaxing area, or seek out the golf courses.
Rancho Charnvee Resort & Country Club
Enjoy a round of golf in Khanong Phra at Rancho Charnvee Resort & Country Club. Discover the mountain views in this relaxing area.
PB Valley Khao Yai Winery
You can enjoy a tasting or tour at PB Valley Khao Yai Winery during your travels to Phaya Yen. Discover the mountain views in this relaxing area.